
Introduction
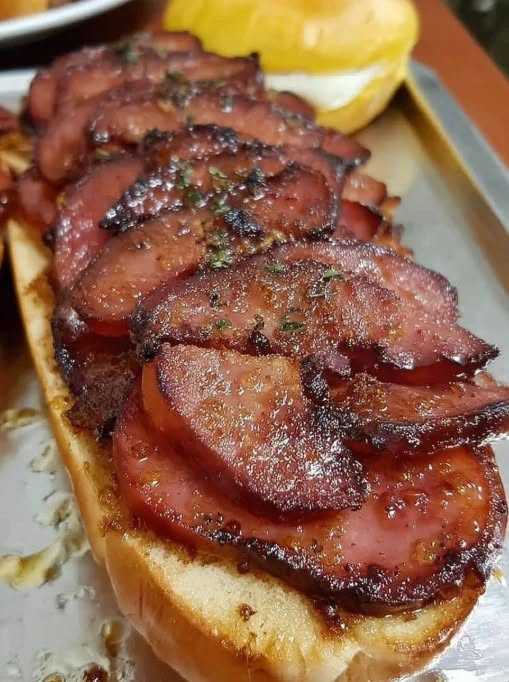
The Fried Bologna Sandwich is a classic American sandwich that evokes nostalgia with every bite. Known for its savory flavor combinations and simplicity, this comfort food sandwich takes many people back to childhood favorite meals. The humble bologna sandwich recipe has been a staple in American households for decades, offering a quick lunch idea that is both satisfying and easy to prepare. Whether you’re looking for childhood nostalgia or a new take on deli-style sandwiches, the Fried Bologna Sandwich delivers. Skillet-fried bologna is the star of this dish, providing a crispy texture and rich, savory taste that makes it a standout choice for breakfast sandwich ideas or a simple, tasty meal.
Interestingly, bologna has its roots in Italy, where it is known as ‘mortadella,’ a seasoned pork sausage dotted with fat. Its journey to American lunch tables marks a fascinating fusion of culinary traditions. In the United States, bologna became popular due to its affordability and long shelf life, making it a household staple. The Fried Bologna Sandwich elevates this humble ingredient, turning it into a crispy delight that has been cherished across generations. Many remember it as a staple in lunchboxes or a weekend treat, often cooked up by grandparents as a quick fix for hungry kids.
Ingredients
Bologna: 4 slices, thick cut for optimal taste and texture. Choose a high-quality bologna for the best results. Opt for varieties with less sodium or organic options for a healthier twist.
Bread: 4 slices of white bread, an excellent choice for this sandwich, though the best bread for bologna sandwich can be any soft, light bread like brioche or potato bread. The softness of the bread helps absorb flavors while adding a fluffy texture.
Butter: 2 tablespoons, softened to room temperature for easy spreading. Unsalted butter is preferred to control the saltiness. Butter enhances the golden crust while adding a rich flavor that complements the bologna.
Mustard: 2 teaspoons, classic yellow for authentic flavor. You can substitute with spicy or honey mustard for variation. Mustard adds a tangy contrast that balances the richness of the fried components.
Cheese: 2 slices of American cheese, optional, for those who enjoy grilled cheese and bologna combinations. The melting cheese creates a luscious texture and a comforting, creamy layer.
Toppings: Lettuce and tomato slices for freshness and texture (optional). These add a refreshing crunch and a slight sweetness, making the sandwich more balanced and fulfilling.
Steps / Instructions
Heat a non-stick skillet over medium heat. While the skillet warms up, spread butter evenly on one side of each slice of bread. The butter ensures a golden-brown finish that is crispy to the bite.
Place the bologna slices in the skillet. Cook for about 2-3 minutes per side, until they are golden brown and slightly crisped on the edges, using the classic fried bologna cooking methods. The sizzling sound is your cue to flip the slices.
Transfer the fried bologna to a plate. If using cheese, place a slice of cheese on two bologna slices while they are hot, allowing it to melt slightly. This step is crucial for melding the flavors and achieving a gooey consistency.
In the same skillet, place two slices of bread butter-side down. Spread mustard on the upward-facing side of the bread. This prevents the mustard from soaking into the bread, retaining its distinct flavor.
Layer the bologna and cheese on top of the mustard-covered bread slices in the skillet. Add any additional toppings like lettuce or tomato, if desired. Ensure even layering for consistent flavor in every bite.
Top with the second slice of bread, butter-side up. Grill the sandwich for 3-4 minutes on each side, pressing gently with a spatula, until the bread is golden and crispy. The gentle pressing ensures even browning and helps the sandwich hold together.
Remove the sandwich from the skillet and let it cool for a minute. Slice in half and serve immediately for best results. This brief cooling period allows the cheese to settle slightly, making it easier to handle.
For Complete Cooking STEPS Please Head On Over To Next Page Or Open button (>) and don’t forget to SHARE with your Facebook friends
ADVERTISEMENT

